

This guide explains how to identify and resolve common Airflow DAG issues. It also includes resources to try out if you can’t find a solution to an Airflow issue. While the focus of the troubleshooting steps provided lies on local development, much of the information is also relevant for running Airflow in a production context.
Consider implementing systematic testing of your DAGs to prevent common issues. See the Test Airflow DAGs guide.
There are multiple resources for learning about this topic. See also:
To get the most out of this guide, you should have an understanding of:
To give yourself the best possible chance of fixing a bug in Airflow, contextualize the issue by asking yourself the following questions:
Answering these questions will help you narrow down what kind of issue you’re dealing with and inform your next steps.
You can debug your DAG code with IDE debugging tools using the dag.test() method. See Debug interactively with dag.test().
The 3 most common ways to run Airflow locally are using the Astro CLI, running a standalone instance, or running Airflow in Docker. This guide focuses on troubleshooting the Astro CLI, which is an open source tool for quickly running Airflow on a local machine.
The most common issues related to the Astro CLI are:
astro version to confirm that you can successfully run Astro CLI commands. If a newer version is available, consider upgrading.packages.txt and requirements.txt.astro dev logs -s to troubleshoot.To troubleshoot infrastructure issues when running Airflow on other platforms, for example in Docker, on Kubernetes using the Helm Chart or on managed services, please refer to the relevant documentation and customer support.
You can learn more about testing and troubleshooting locally with the Astro CLI in the Astro documentation.
This section covers common issues related to DAG code that you might encounter when developing.
If a DAG isn’t appearing in the Airflow UI, it’s typically because Airflow is unable to parse the DAG. If this is the case, you’ll see an Import Error in the Airflow UI.
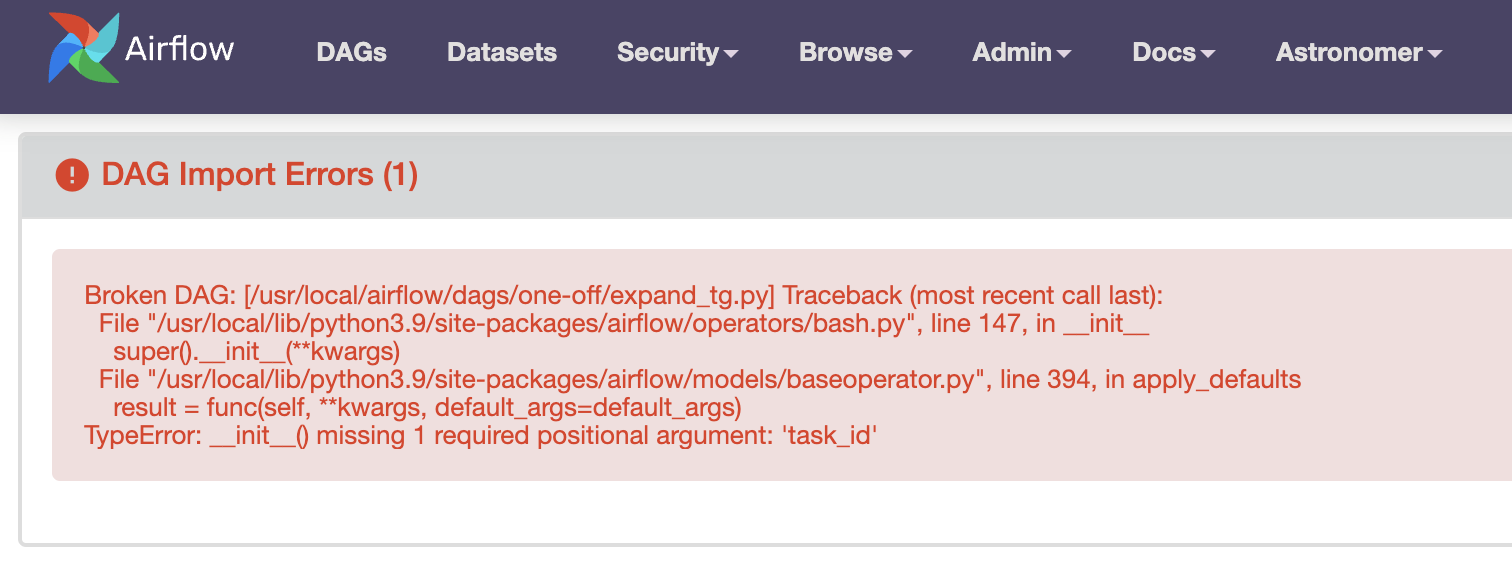
The message in the import error can help you troubleshoot and resolve the issue.
To view import errors in your terminal, run astro dev run dags list-import-errors with the Astro CLI, or run airflow dags list-import-errors with the Airflow CLI.
If you don’t see an import error message but your DAGs still don’t appear in the UI, try these debugging steps:
Make sure all of your DAG files are located in the dags folder.
Airflow scans the dags folder for new DAGs every dag_dir_list_interval, which defaults to 5 minutes but can be modified. You might have to wait until this interval has passed before a new DAG appears in the Airflow UI or restart your Airflow environment.
Ensure that you have permission to see the DAGs, and that the permissions on the DAG file are correct.
Run astro dev run dags list with the Astro CLI or airflow dags list with the Airflow CLI to make sure that Airflow has registered the DAG in the metadata database. If the DAG appears in the list but not in the UI, try restarting the Airflow webserver.
Try restarting the Airflow scheduler with astro dev restart.
If you see an error in the Airflow UI indicating that the scheduler is not running, check the scheduler logs to see if an error in a DAG file is causing the scheduler to crash. If you are using the Astro CLI, run astro dev logs -s and then try restarting.
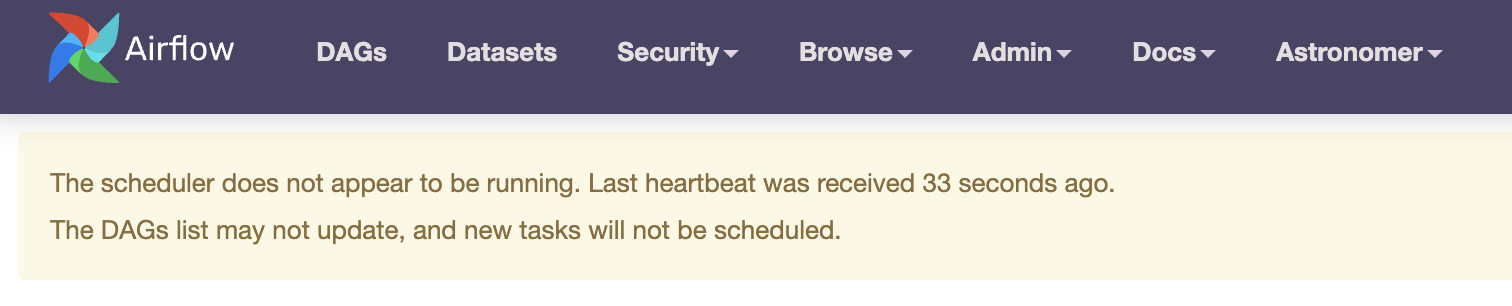
At the code level, ensure that each DAG:
dag_id.airflow or the word dag. The scheduler only parses files fulfilling this condition.@dag decorator. See also Introduction to Airflow decorators.Note that in Airflow 2.10+, you can configure an Airflow listener as a plugin to run any Python code, either when a new import error appears (on_new_dag_import_error) or when the dag processor finds a known import error (on_existing_dag_import_error). See Airflow listeners for more information.
A frequent cause of DAG import errors is not having the necessary packages installed in your Airflow environment. You might be missing provider packages that are required for using specific operators or hooks, or you might be missing Python packages used in Airflow tasks.
In an Astro project, you can install OS-level packages by adding them to your packages.txt file. You can install Python-level packages, such as provider packages, by adding them to your requirements.txt file. If you need to install packages using a specific package manager, consider doing so by adding a bash command to your Dockerfile.
To prevent compatibility issues when new packages are released, Astronomer recommends pinning a package version to your project. For example, adding astronomer-providers[all]==1.14.0 to your requirements.txt file ensures that no future releases of astronomer-providers causes compatibility issues. If no version is pinned, Airflow will always use the latest available version.
If you are using the Astro CLI, packages are installed in the scheduler container. You can confirm that a package is installed correctly by running:
If you have conflicting package versions or need to run multiple Python versions, you can run tasks in different environments using a few different operators:
If many Airflow tasks share a set of alternate package and version requirements a common pattern is to run them in two or more separate Airflow deployments.
If your DAGs are either not running or running differently than you intended, consider checking the following common causes:
DAGs need to be unpaused in order to run on their schedule. You can unpause a DAG by clicking the toggle on the left side of the Airflow UI or by using the Airflow CLI.
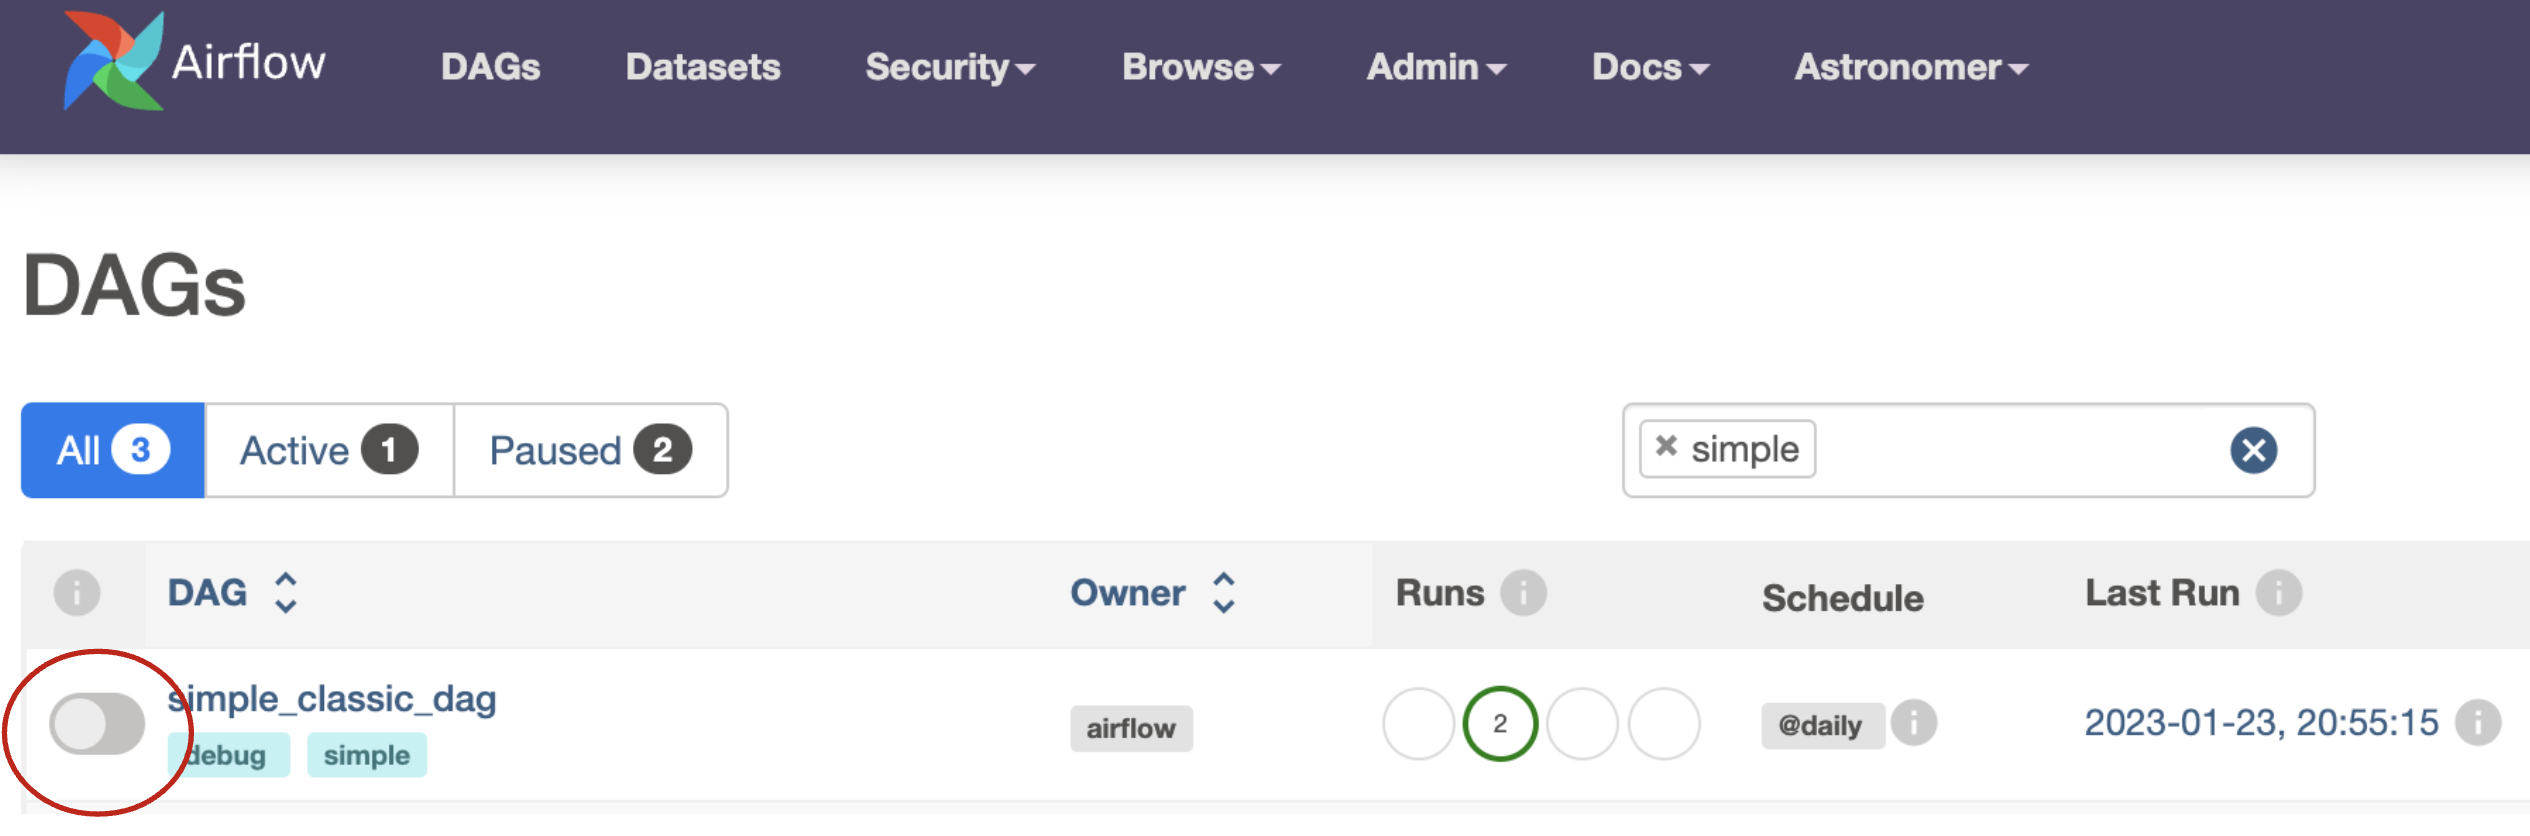
If you want all DAGs unpaused by default, you can set dags_are_paused_at_creation=False in your Airflow config. If you do this, remember to set catchup=False in your DAGs to prevent automatic backfilling of DAG runs. Paused DAGs are unpaused automatically when you manually trigger them.
Double check that each DAG has a unique dag_id. If two DAGs with the same id are present in one Airflow instance the scheduler will pick one at random every 30 seconds to display.
Make sure your DAG has a start_date in the past. A DAG with a start_date in the future will result in a successful DAG run with no task runs. Do not use datetime.now() as a start_date.
Test the DAG using astro dev dags test <dag_id>. With the Airflow CLI, run airflow dags test <dag_id>.
If no DAGs are running, check the state of your scheduler using astro dev logs -s.
If too many runs of your DAG are being scheduled after you unpause it, you most likely need to set catchup=False in your DAG’s parameters.
If your DAG is running, but not on the schedule you expected, review the DAG Schedule DAGs in Airflow guide. If you are using a custom timetable, ensure that the data interval for your DAG run does not precede the DAG start date.
This section covers common issues related to individual tasks you might encounter. If your entire DAG is not working, see the DAGs are not running correctly section above.
It is possible for a DAG to start but its tasks to be stuck in various states or to not run in the desired order. If your tasks are not running as intended, try the following debugging methods:
start_date is in the past. A future start_date will result in a successful DAG run even though no tasks ran.scheduled or queued state, ensure your scheduler is running properly. If needed, restart the scheduler or increase scheduler resources in your Airflow infrastructure.depends_on_past parameter set to True, those newly added tasks won’t run until you set the state of prior task runs.task_queued_timeout parameter controls how long tasks can be in queued state before they are either retried or marked as failed. The default is 600 seconds.queued state, consider turning on stalled_task_timeout.Most task failure issues fall into one of 3 categories:
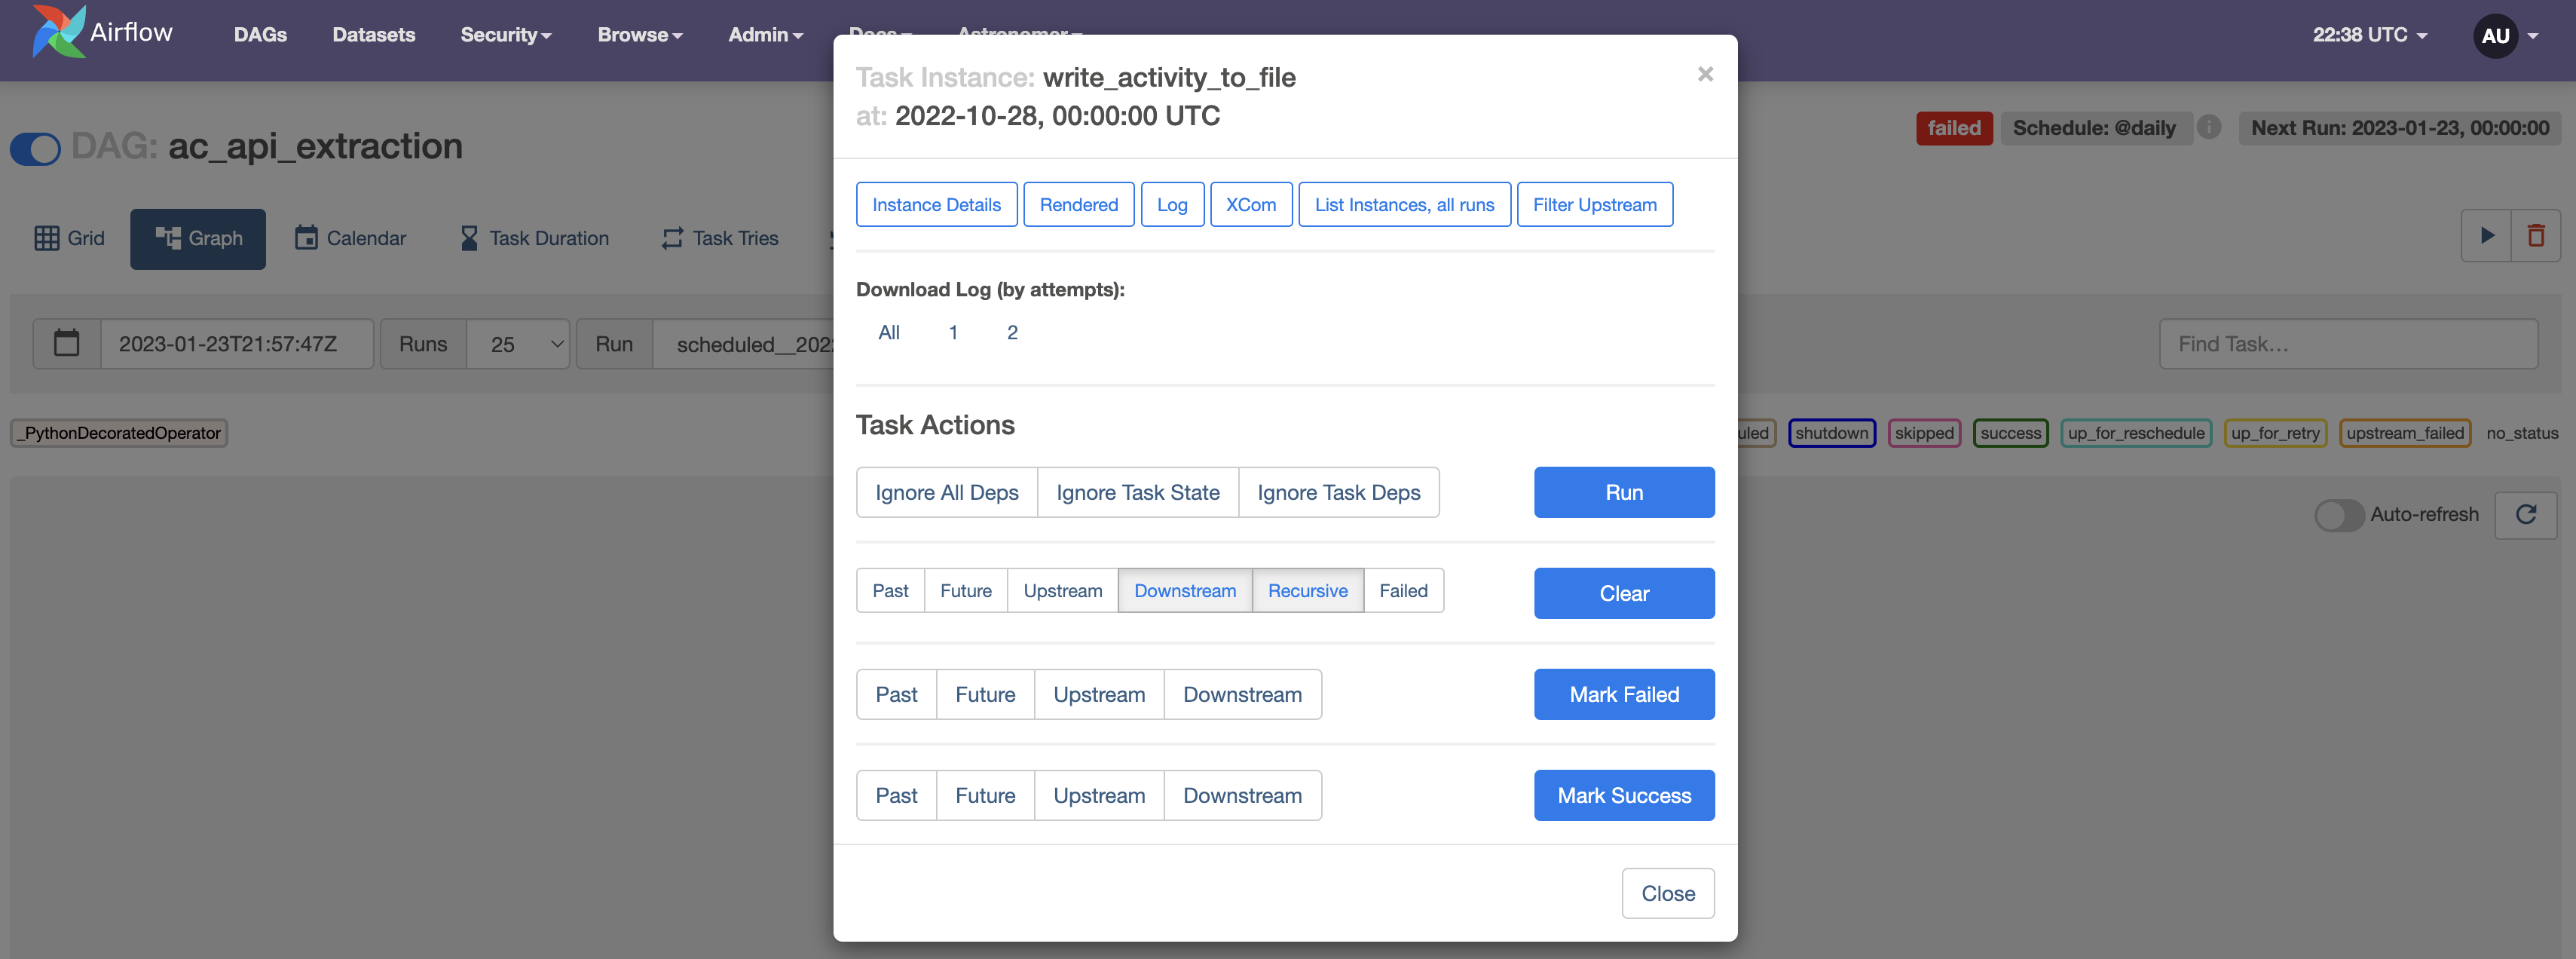
Failed tasks appear as red squares in the Grid view, where you can also directly access task logs.
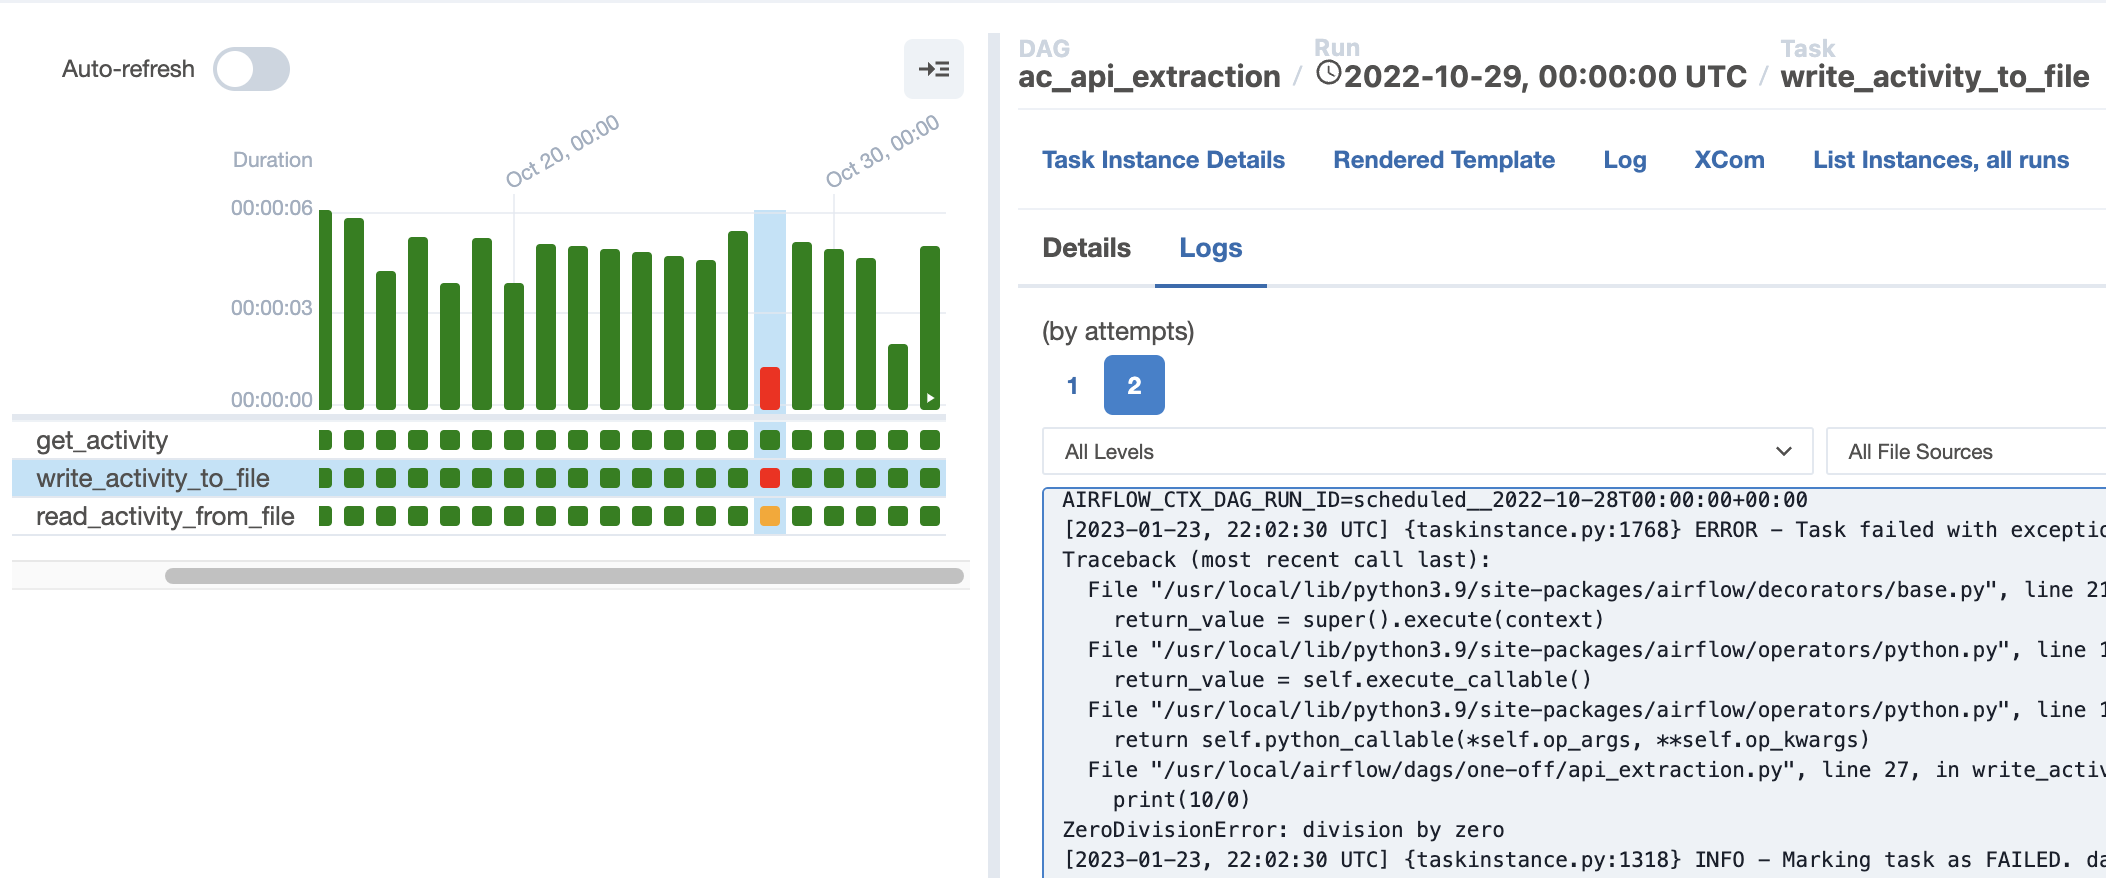
Task logs can also be accessed from the Graph view and have plenty of configuration options. See Airflow Logging.
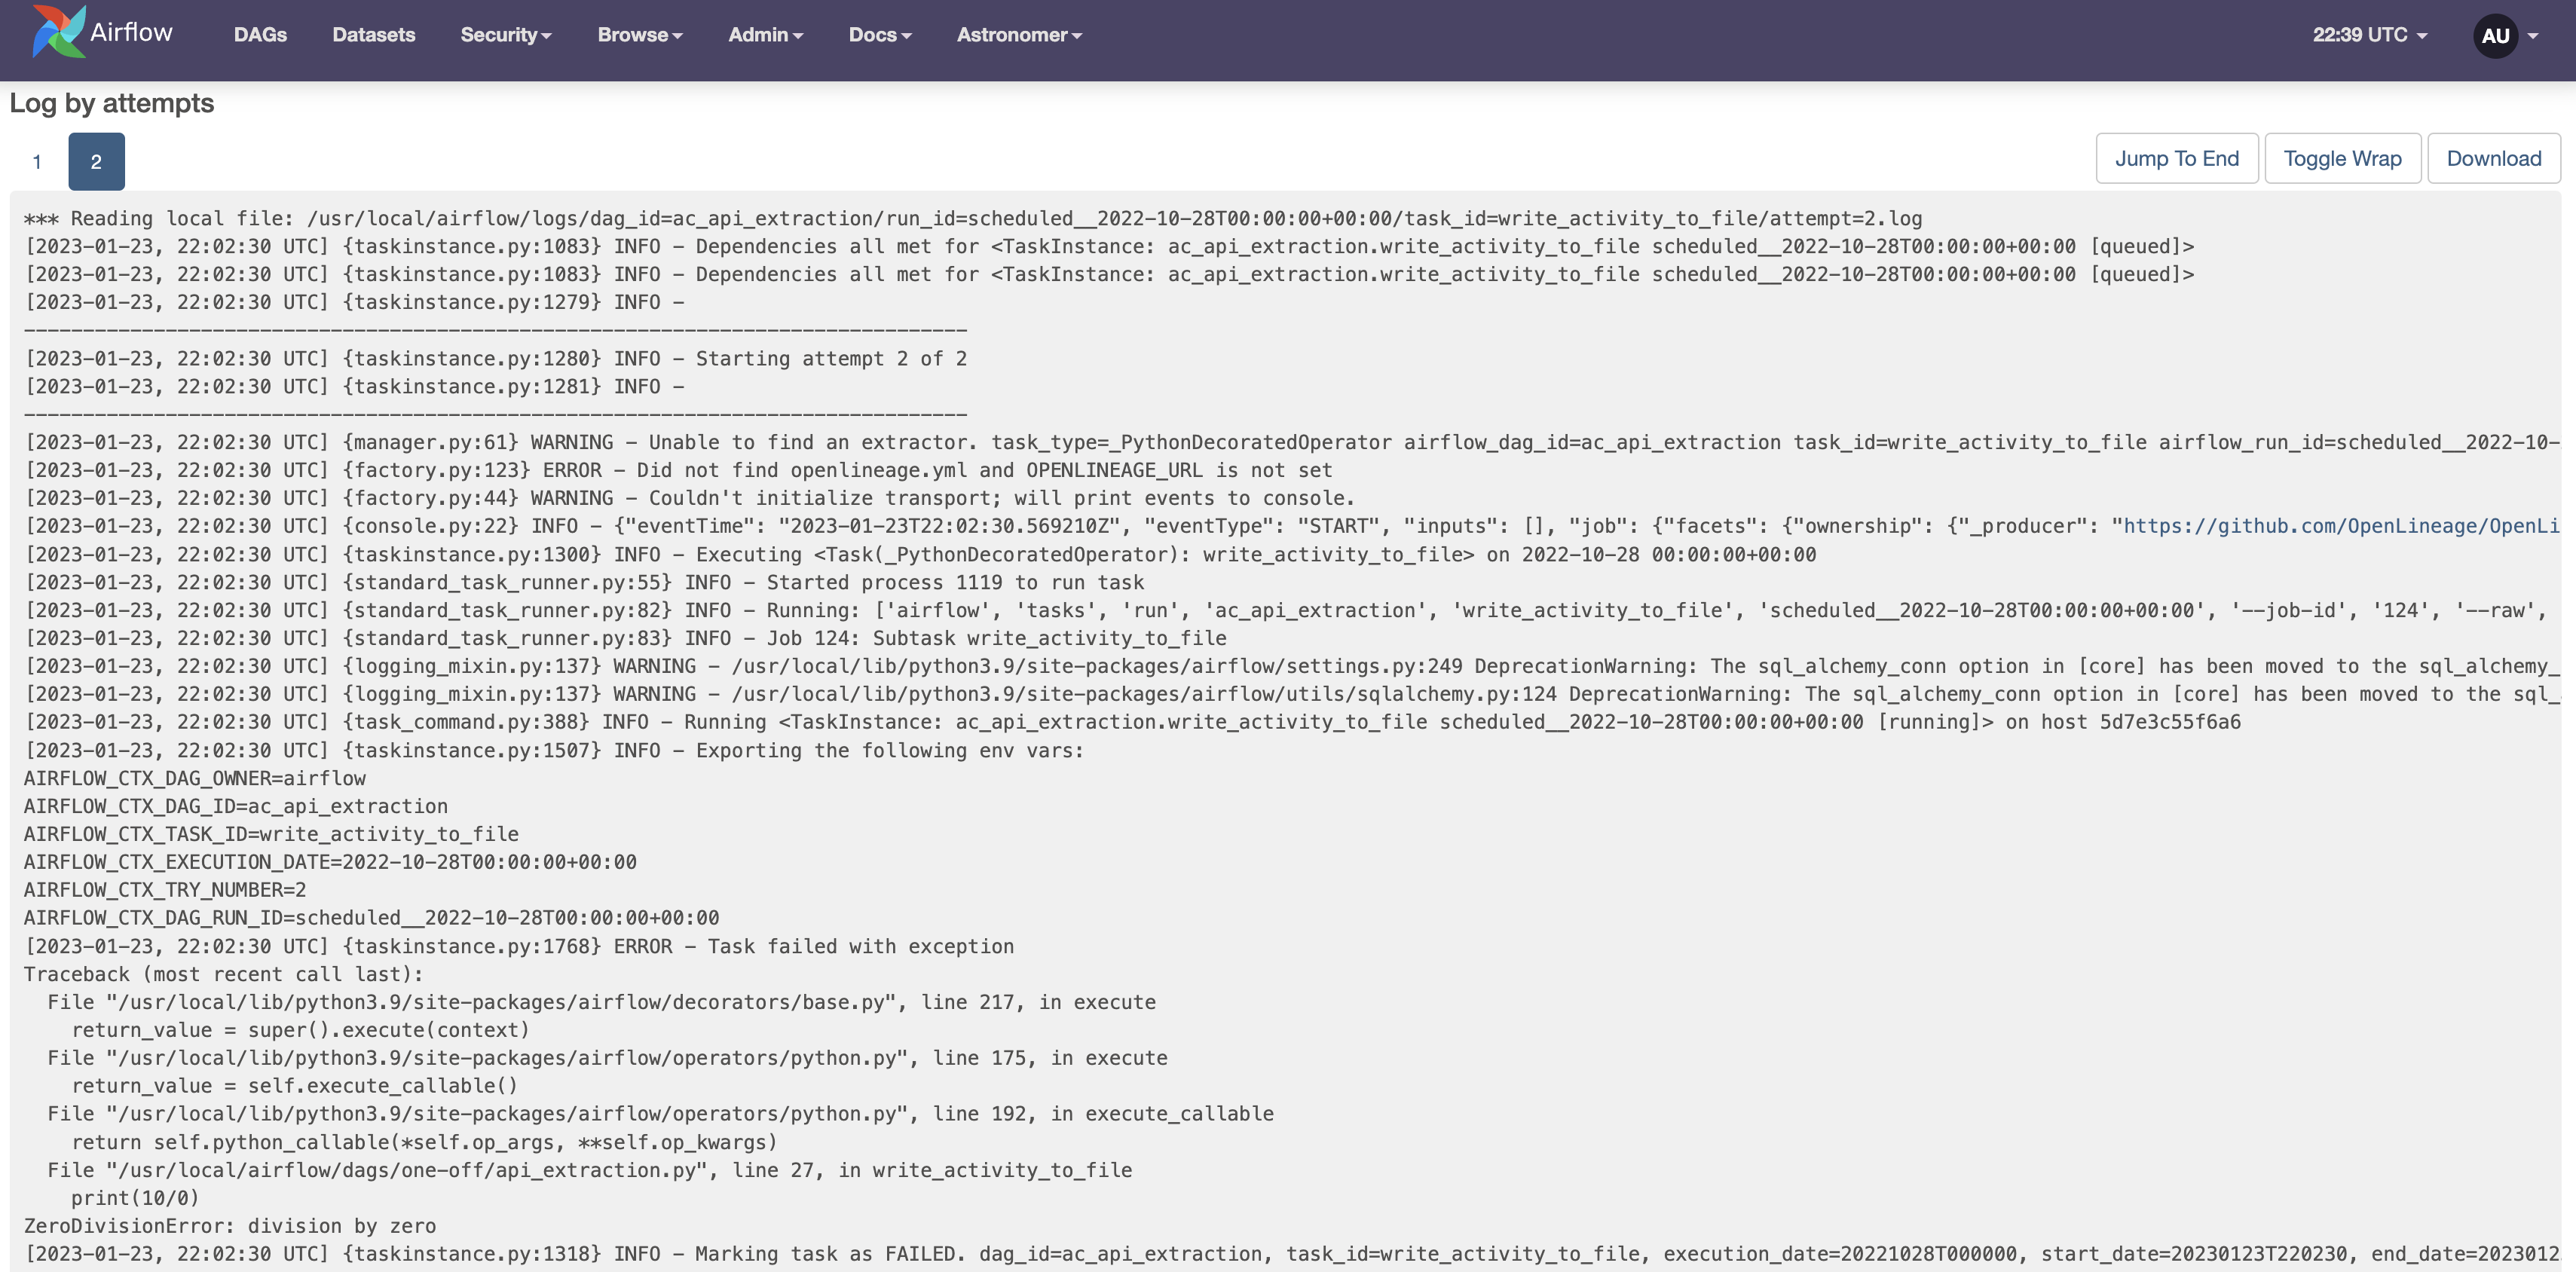
The task logs provide information about the error that caused the failure.
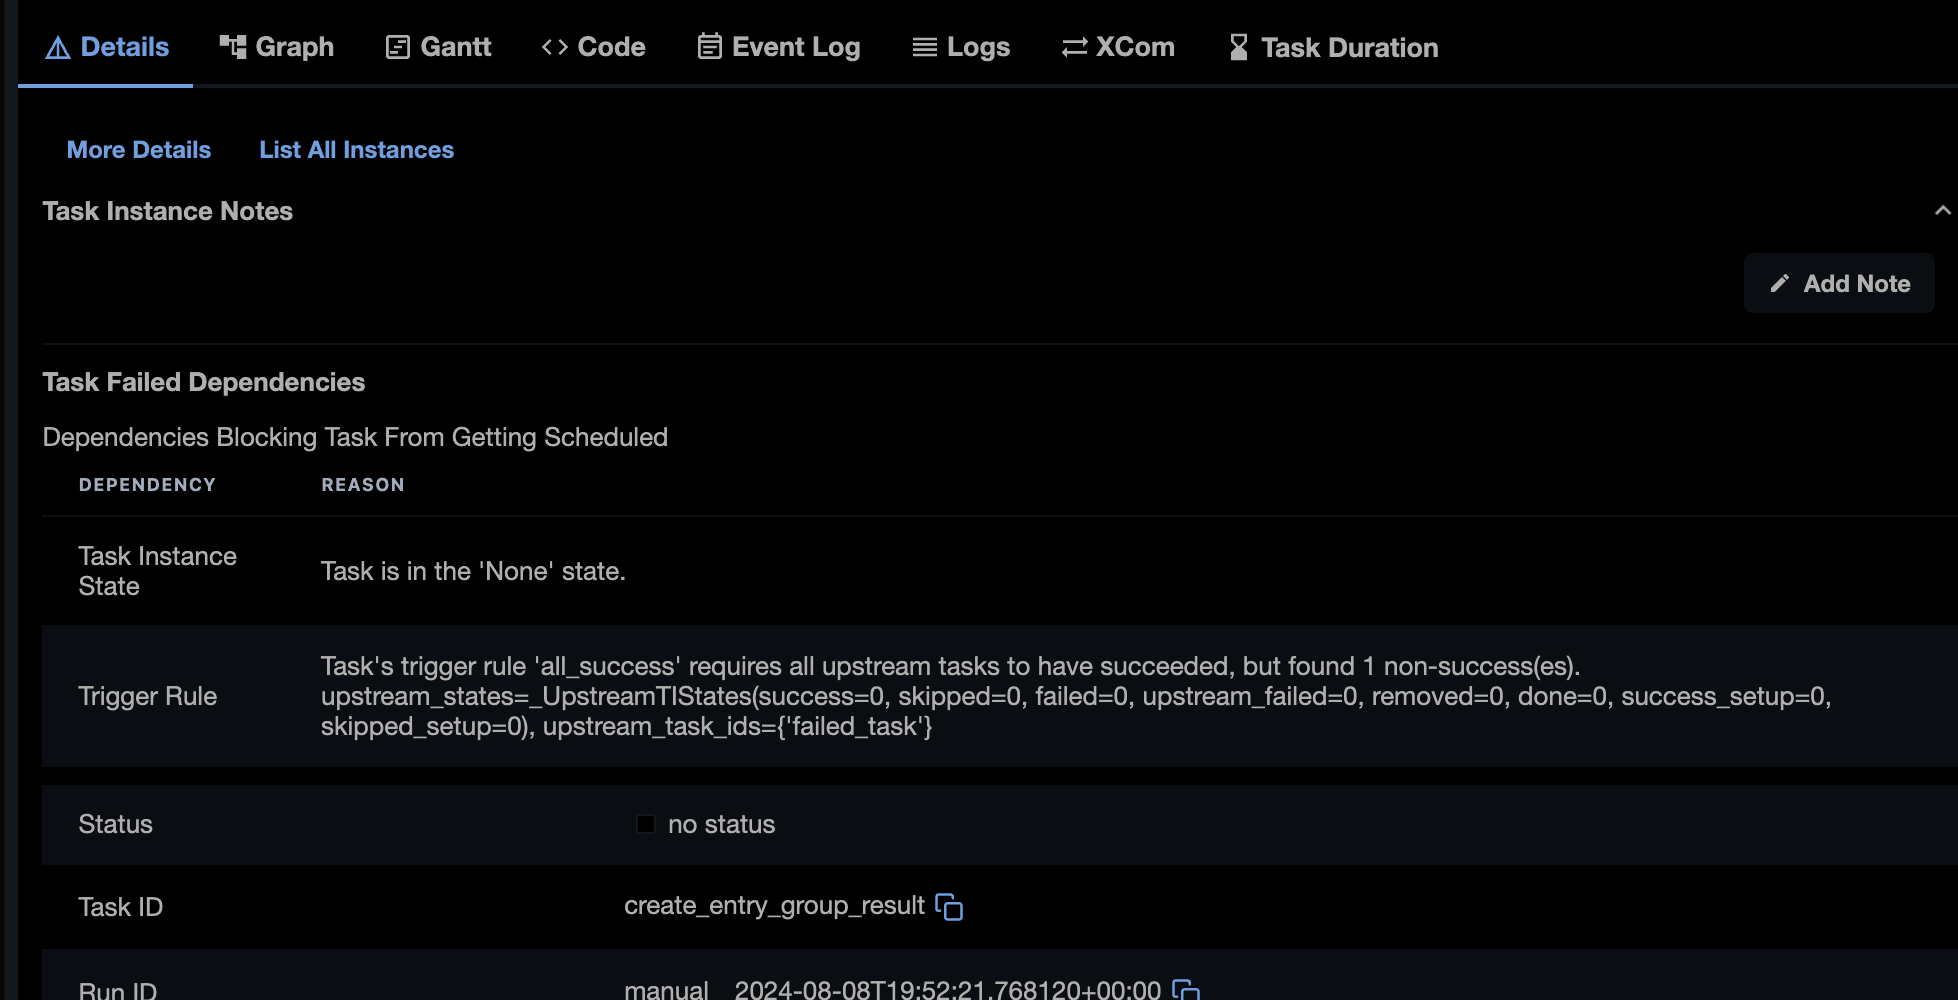
Starting with version 2.10, the Details tab displays information about dependencies causing a task to fail or not to run (Task Failed Dependencies). If available, this information is displayed for any task in a scheduled or None state.
To help identify and resolve task failures, you can set up error notifications. See Error Notifications in Airflow.
Task failures in newly developed DAGs with error messages such as Task exited with return code Negsignal.SIGKILL or containing a -9 error code are often caused by a lack of memory. Increase the resources for your scheduler, webserver, or pod, depending on whether you’re running the Local, Celery, or Kubernetes executors respectively.
After resolving your issue you may want to rerun your DAGs or tasks, see Rerunning DAGs.
Dynamic task mapping is a powerful feature that allows you to dynamically adjust the number of tasks at runtime based on changing input parameters. It is also possible to dynamically map over task groups.
Possible causes of issues when working with dynamically mapped tasks include:
You did not provide a keyword argument to the .expand() function.
When using .expand_kwargs(), you did not provide mapped parameters in the form of a List(Dict).
You tried to map over an empty list, which causes the mapped task to be skipped.
You exceeded the limit for how many mapped task instances you can create. This limit depends on the Airflow core config max_map_length and is 1024 by default.
The number of mapped task instances of a specific task that can run in parallel across all runs of a given DAG depend on the task level parameter max_active_tis_per_dag.
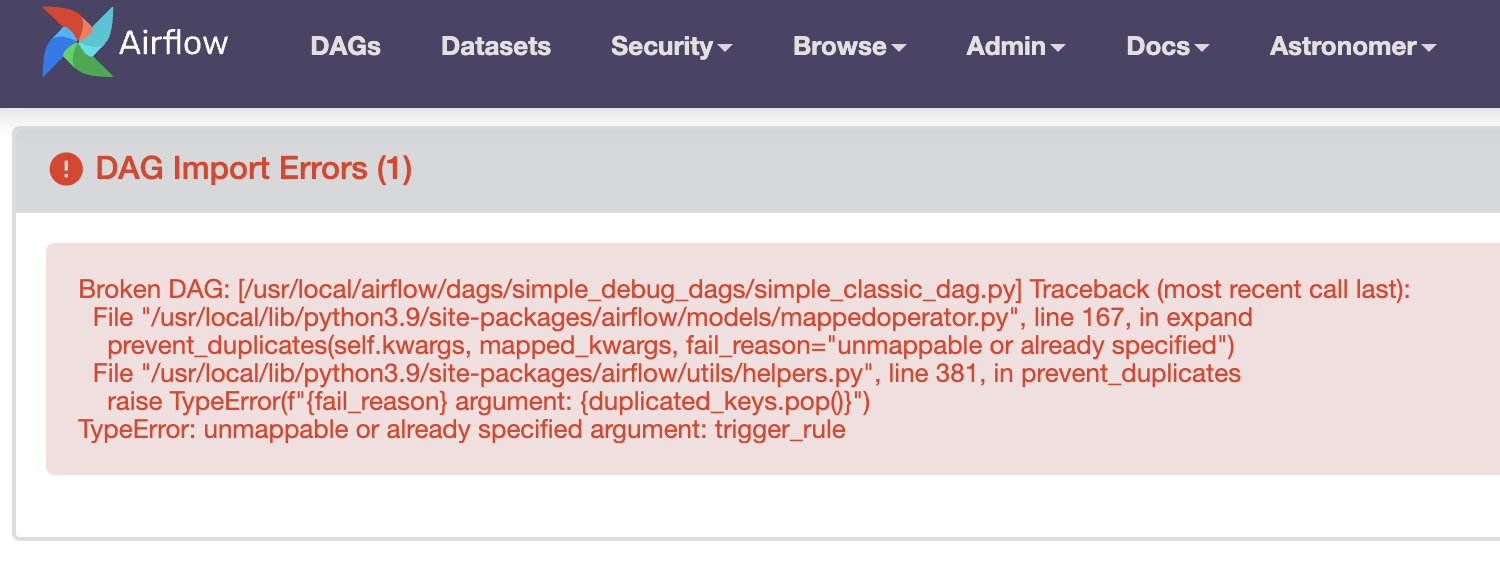
Not all parameters are mappeable. If a parameter does not support mapping you will receive an Import Error like in the screenshot below.
When creating complex patterns with dynamically mapped tasks, we recommend first creating your DAG structure using EmptyOperators or decorated Python operators. Once the structure works as intended, you can start adding your tasks. Refer to the Create dynamic Airflow tasks guide for code examples.
It is very common that the output of an upstream operator is in a slightly different format than what you need to map over. Use .map() to transform elements in a list using a Python function.
When you check your task logs to debug a failure, you may not see any logs. On the log page in the Airflow UI, you may see a spinning wheel, or you may just see a blank file.
Generally, logs fail to appear when a process dies in your scheduler or worker and communication is lost. The following are some debugging steps you can try:
log_fetch_timeout_sec parameter to greater than the 5 second default. This parameter controls how long the webserver waits for the initial handshake when fetching logs from the worker machines, and having extra time here can sometimes resolve issues.Typically, Airflow connections are needed to allow Airflow to communicate with external systems. Most hooks and operators expect a defined connection parameter. Because of this, improperly defined connections are one of the most common issues Airflow users have to debug when first working with their DAGs.
While the specific error associated with a poorly defined connection can vary widely, you will typically see a message with “connection” in your task logs. If you haven’t defined a connection, you’ll see a message such as 'connection_abc' is not defined.
The following are some debugging steps you can try:
Review Manage connections in Apache Airflow to learn how connections work.
Make sure you have the necessary provider packages installed to be able to use a specific connection type.
Change the <external tool>_default connection to use your connection details or define a new connection with a different name and pass the new name to the hook or operator.
Define connections using Airflow environment variables instead of adding them in the Airflow UI. Make sure you’re not defining the same connection in multiple places. If you do, the environment variable takes precedence.
Test if your credentials work when used in a direct API call to the external tool.
Test your connections using the Airflow UI or the Airflow CLI. See Testing connections.
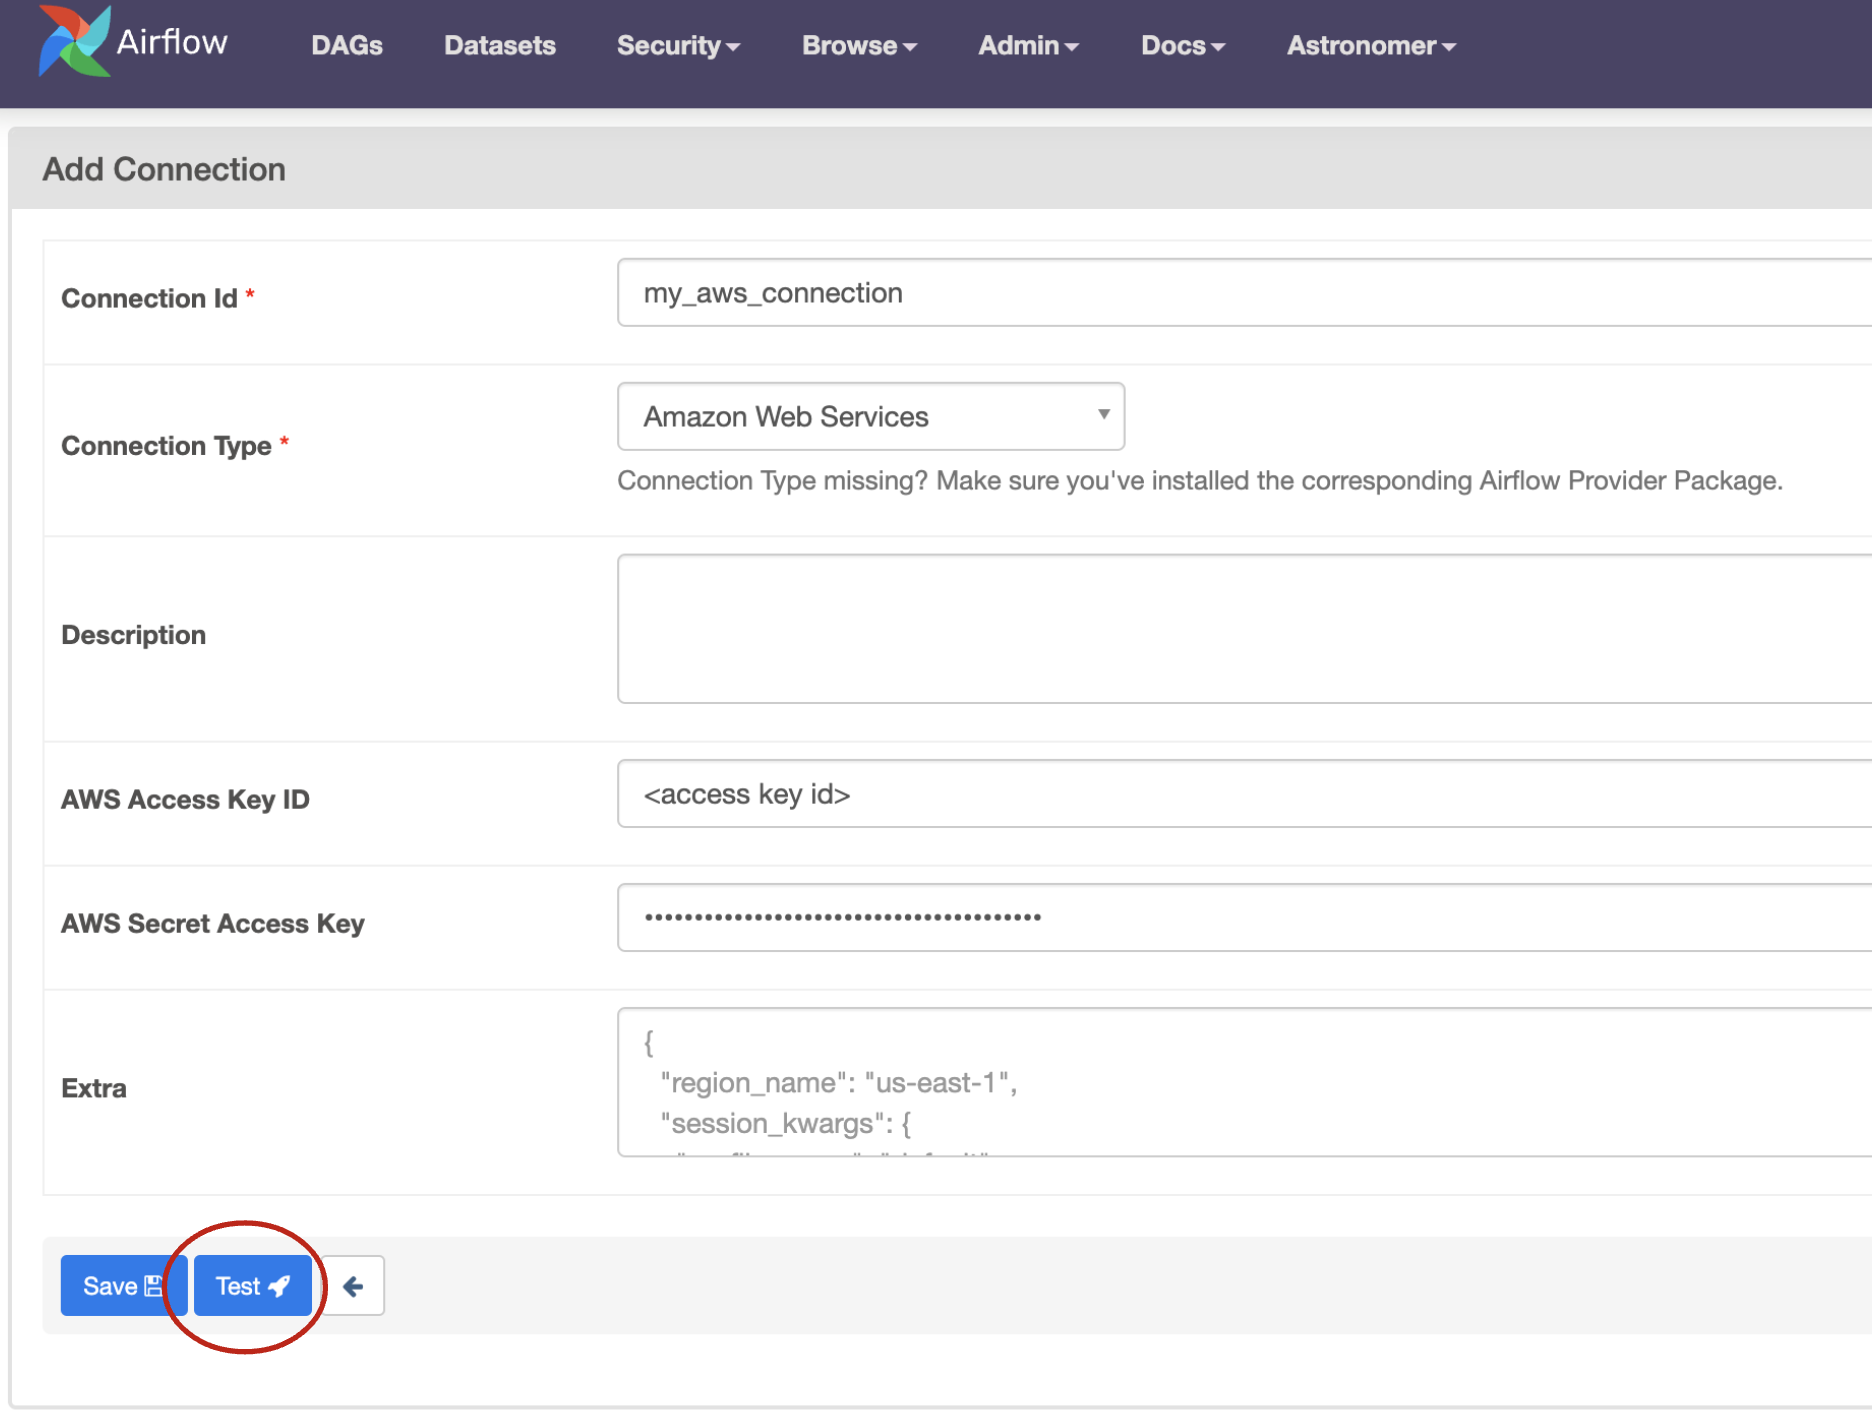
Testing connections is disabled by default in Airflow 2.7+. You can enable connection testing by defining the environment variable AIRFLOW__CORE__TEST_CONNECTION=Enabled in your Airflow environment. Astronomer recommends not enabling this feature until you are sure that only highly trusted UI/API users have “edit connection” permissions.
To find information about what parameters are required for a specific connection:
You can also test connections from within your IDE by using the dag.test() method. See Debug interactively with dag.test() and How to test and debug your Airflow connections.
The information provided here should help you resolve the most common issues. If your issue was not covered in this guide, try the following resources:
airflow and other relevant tools you are using. Using Stack Overflow is ideal when you are unsure which tool is causing the error, since experts for different tools will be able to see your question.#newbie-questions or #troubleshooting. The Airflow slack is the best place to get answers to more complex Airflow specific questions.To get more specific answers to your question, include the following information in your question or issue: