
Tutorial: How to Orchestrate Databricks Jobs with Airflow
Tutorial: How to Orchestrate Databricks Jobs with Airflow

Tutorial: How to Orchestrate Databricks Jobs with Airflow
Databricks is a popular unified data and analytics platform built around Apache Spark that provides users with fully managed Apache Spark clusters and interactive workspaces.
The open source Airflow Databricks provider provides full observability and control from Airflow so you can manage Databricks from one place, including enabling you to orchestrate your Databricks notebooks from Airflow and execute them as Databricks jobs.
Many data teams leverage Databricks’ optimized Spark engine to run heavy workloads like machine learning models, data transformations, and data analysis. While Databricks offers some orchestration with Databricks Workflows, they are limited in functionality and do not integrate with the rest of your data stack. Using a tool-agnostic orchestrator like Airflow gives you several advantages, like the ability to:
This step-by-step tutorial takes approximately 30 minutes to complete. After completting this tutorial, you will have a working Airflow Dag that orchestrates Databricks notebooks as a Databricks Workflow.
To get the most out of this tutorial, make sure you have an understanding of:
Create a new Astro project:
Add the Airflow Databricks provider package to your requirements.txt file.
You can orchestrate any Databricks notebooks in a Databricks job using the Airflow Databricks provider. If you don’t have Databricks notebooks ready, follow these steps to create two notebooks:
Create an empty notebook in your Databricks workspace called notebook1.
Copy and paste the following code into the first cell of the notebook1 notebook.
Create a second empty notebook in your Databricks workspace called notebook2.
Copy and paste the following code into the first cell of the notebook2 notebook.
Start Airflow by running astro dev start.
In the Airflow UI, go to Admin > Connections and click +.
Create a new connection named databricks_conn. Select the connection type Databricks and enter the following information:
databricks_conn.Databricks.https://dbc-1234cb56-d7c8.cloud.databricks.com/).Alternatively, you can create an OAuth connection to your Databricks workspace by providing the Host, Service Principal Client ID as Login, Service Principal Client Secret as Password and set service_principal_oauth to True in the Extra field.
Astro customers can use the Astro Environment Manager to create a connection to Databricks, stored in the Astro-managed secrets backend. This connection can be shared across multiple Deployments in a Workspace.
In your dags folder, create a file called my_simple_databricks_dag.py.
Copy and paste the following Dag code into the file. Replace<your-databricks-login-email> variable with your Databricks login email. If you already had Databricks notebooks and did not create new ones in Step 2, adjust the notebook_path parameters in the two DatabricksNotebookOperators to point to the existing notebooks. Adjust the job_cluster_spec to match your available cloud resources.
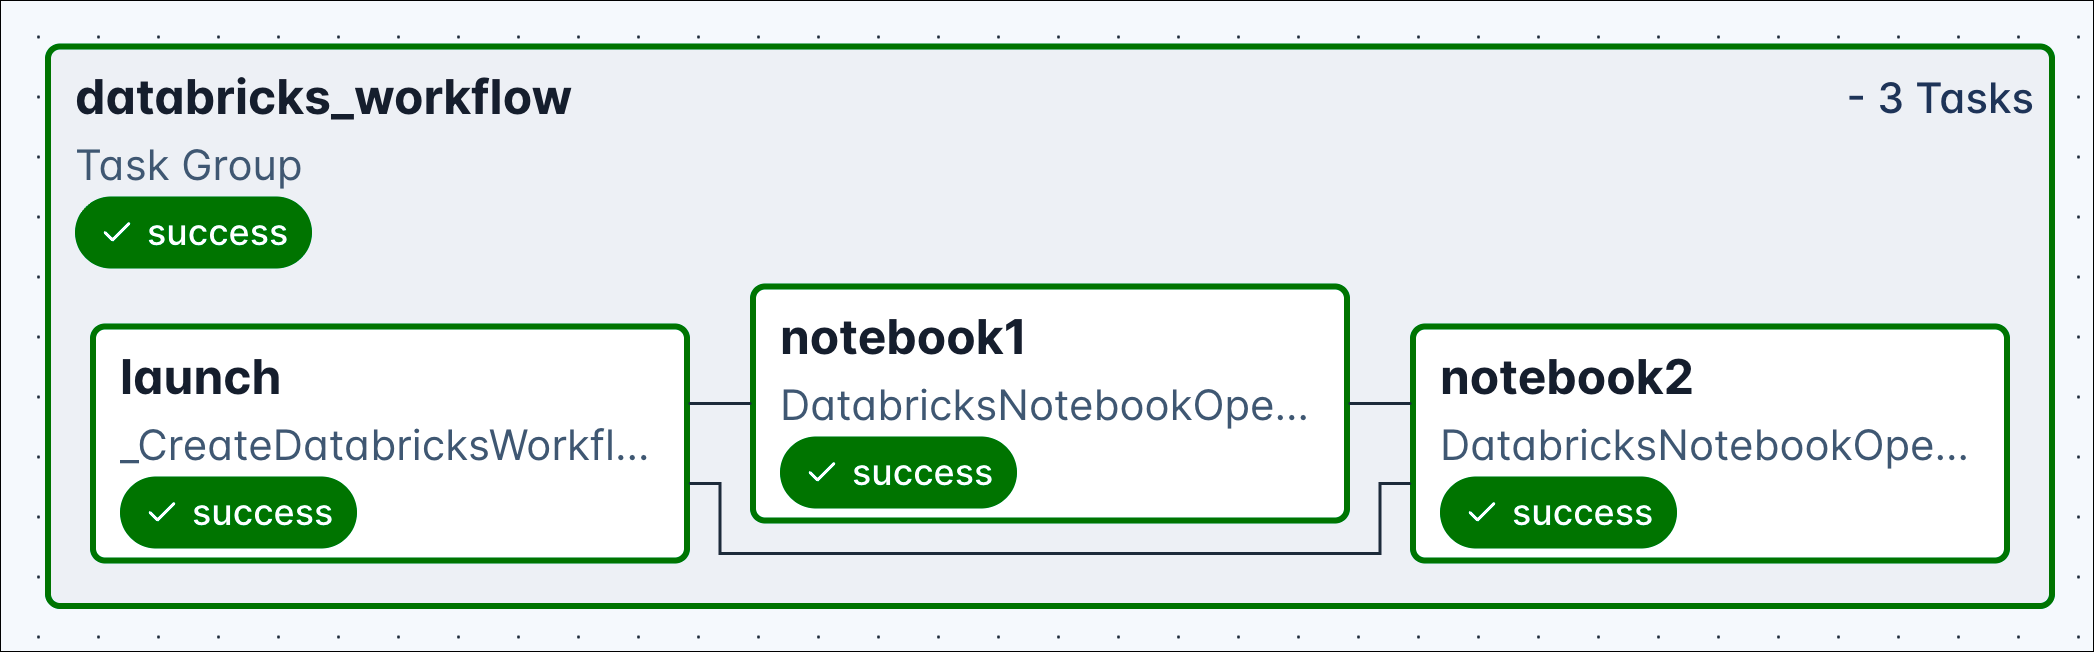
This Dag uses the Airflow Databricks provider to create a Databricks job that runs two notebooks. The databricks_workflow task group, created using the DatabricksWorkflowTaskGroup class, automatically creates a Databricks job that executes the Databricks notebooks you specified in the individual DatabricksNotebookOperators. One of the biggest benefits of this setup is the use of a Databricks job cluster, allowing you to significantly reduce your Databricks cost. The task group contains three tasks:
launch task, which the task group automatically generates, provisions a Databricks job_cluster with the spec defined as job_cluster_spec and creates the Databricks job from the tasks within the task group.notebook1 task runs the notebook1 notebook in this cluster as the first part of the Databricks job.notebook2 task runs the notebook2 notebook as the second part of the Databricks job.Run the Dag manually by clicking the play button and view the Dag in the graph tab. In case the task group appears collapsed, click it in order to expand and see all tasks.
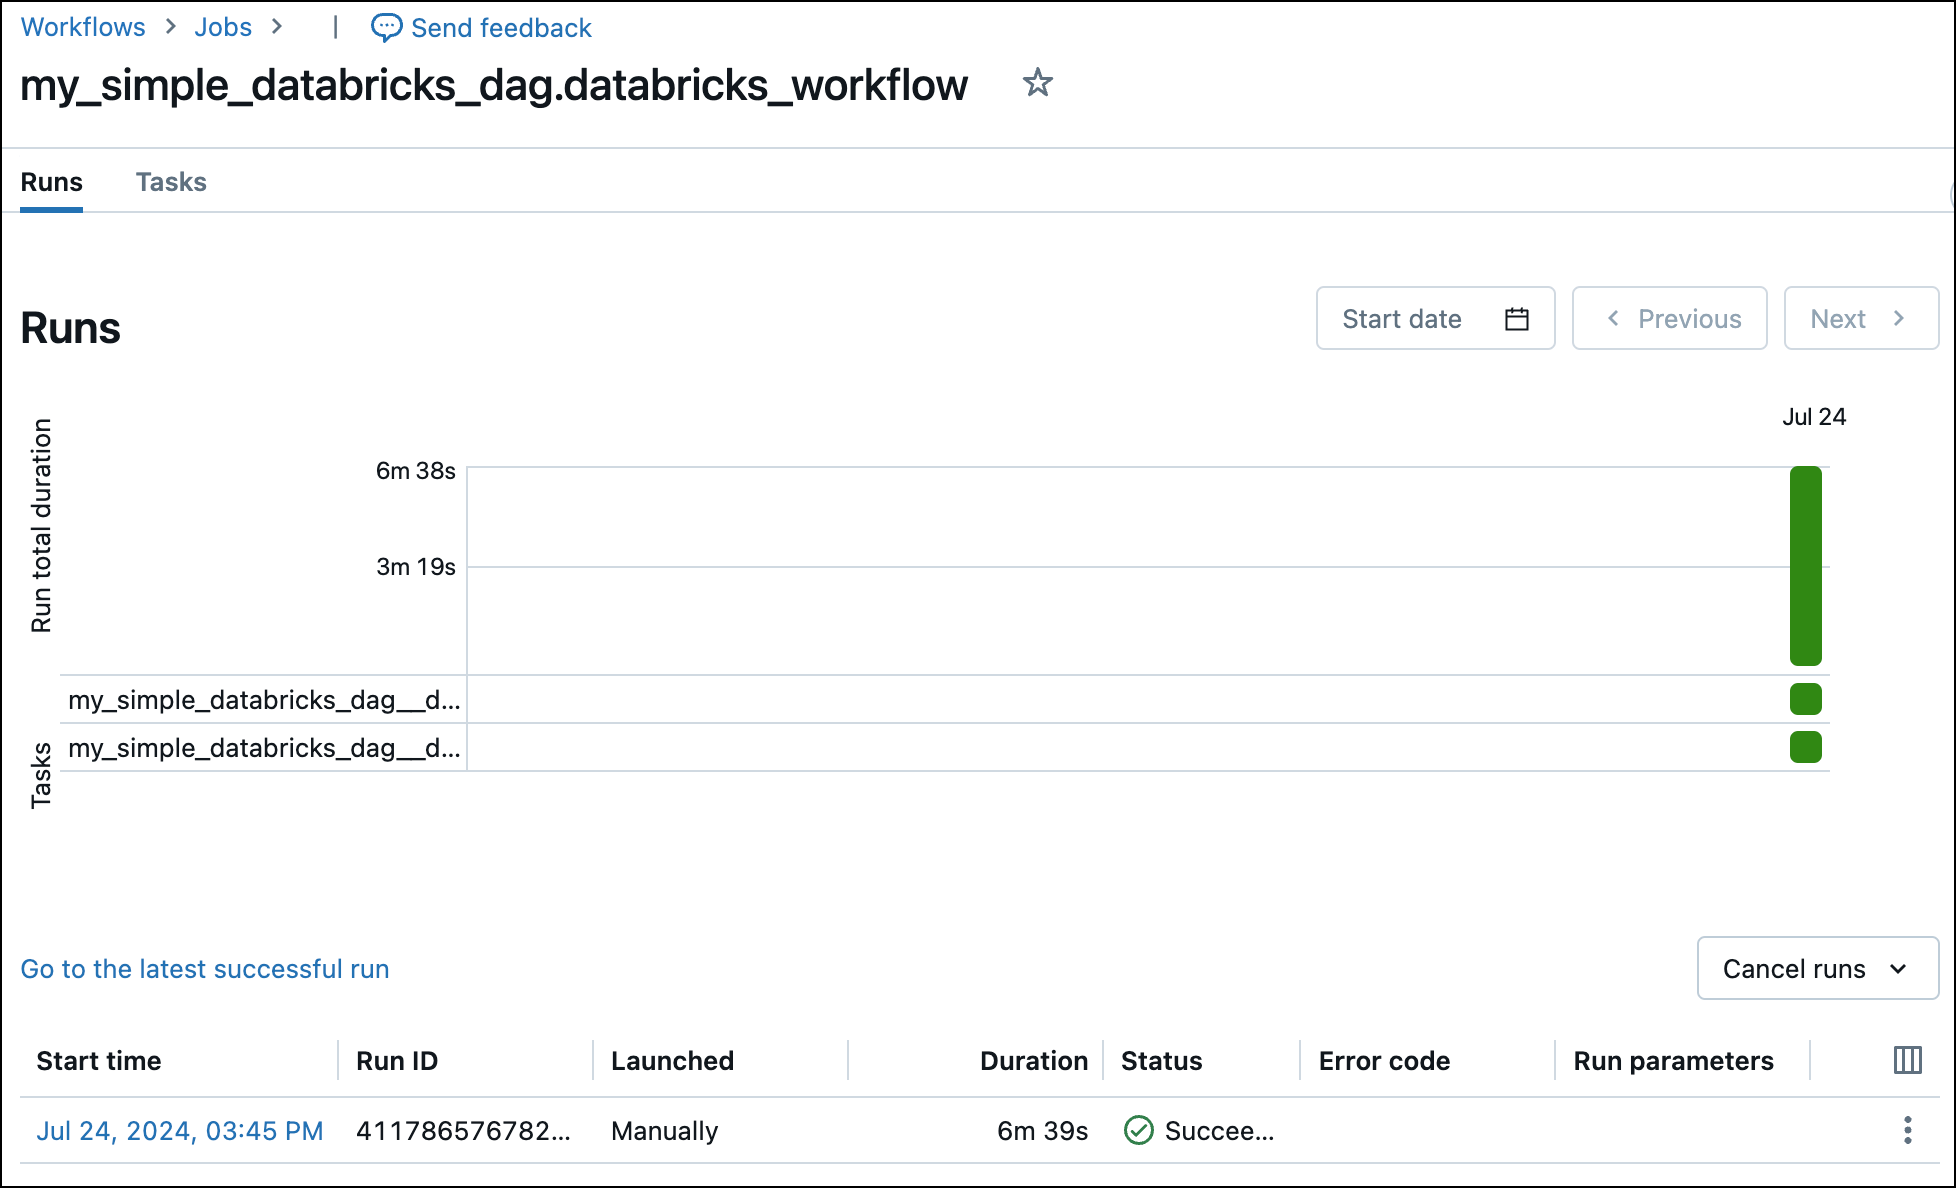
View the completed Databricks job in the Databricks UI.
You can run any SQL query in Databricks using the DatabricksSqlOperator from the Airflow Databricks provider. In your Dag, outside of the databricks_workflow task group, add the following task. Replace the placeholder values with your own values.
Alternatively, you can also use the DatabricksHook directly in any @task decorated function or PythonOperator in your Dag.
This section explains Airflow Databricks provider functionality in more depth. You can learn more about the Airflow Databricks provider, including more information about other available operators, in the provider documentation.
The DatabricksWorkflowTaskGroup provides configuration options via several parameters:
job_clusters: the job clusters parameters for this job to use. You can provide the full job_cluster_spec as shown in the tutorial Dag.
notebook_params: a dictionary of parameters to make available to all notebook tasks in a job. This operator is templatable, see below for a code example:
To retrieve this parameter inside your Databricks notebook add the following code to a Databricks notebook cell:
notebook_packages: a list of dictionaries defining Python packages to install in all notebook tasks in a job.
extra_job_params: a dictionary with properties to override the default Databricks job definitions.
You also have the ability to specify parameters at the task level in the DatabricksNotebookOperator:
notebook_params: a dictionary of parameters to make available to the notebook.notebook_packages: a list of dictionaries defining Python packages to install in the notebook.Note that you cannot specify the same packages in both the notebook_packages parameter of a DatabricksWorkflowTaskGroup and the notebook_packages parameter of a task using the DatabricksNotebookOperator in that same task group. Duplicate entries in this parameter cause an error in Databricks.